|
|
WoodworkingHobby.Com! Home of Hobbyist Woodworker Dennis Slabaugh
|
|
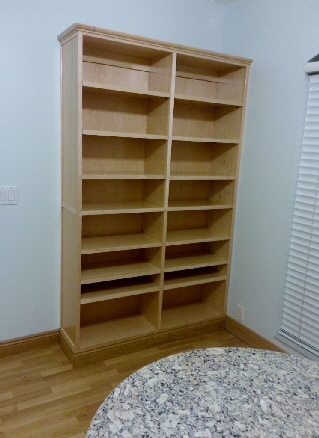
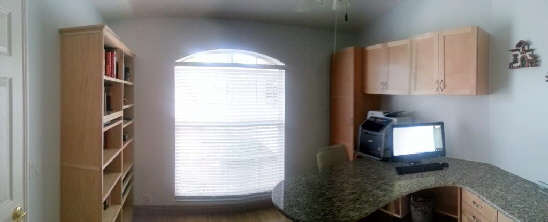
FINAL UPDATE 7.2.13 This will be the final update on this page. I have completed the project!. I will create a new page to chronical the construction of the project and highlight some of the construction techniques that I utilized and problems that I encountered. Here are s couple of pictures showing the bookcase installed and a panoramic shot of the entire office with the window view!
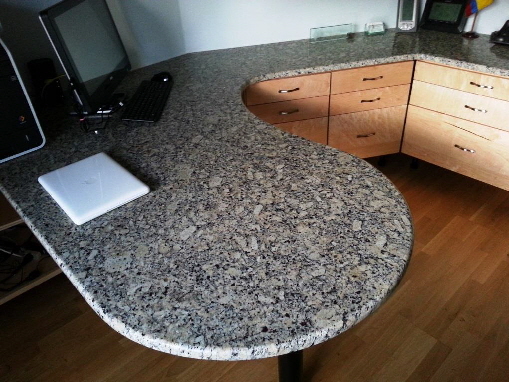
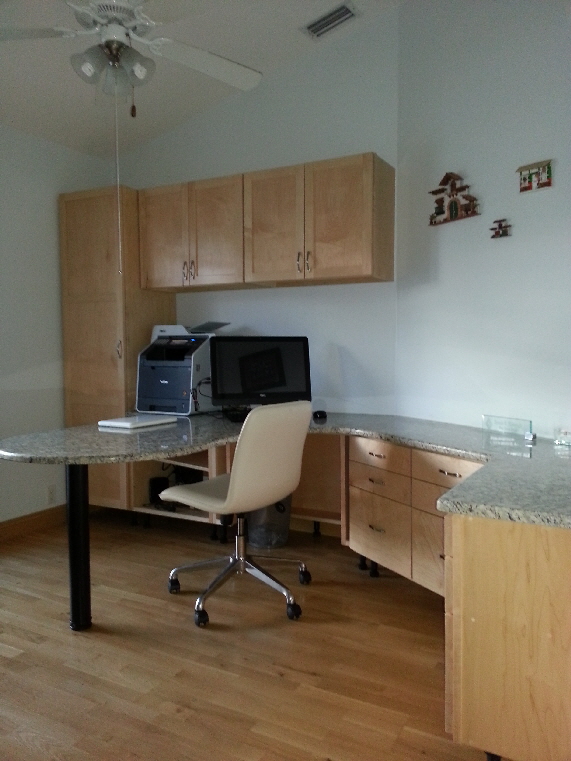
UPDATE # 3 6/16/13 The granite desktop was installed this week creating a push to finish the drawer fronts and get them installed. A late night Saturday found the last three file drawer fronts in place for Father’s day showoff. A marathon finishing day on Saturday morning and good hot weather got the water borne finish dry in time for evening install. All this is left is to build some of the upper cabinet removable shelves and the lower open unit shelving. Once these parts are done, it is on to the completion of the book case that is 80% finished. I am disappointed in the Rockler Centerline over travel drawer slides I used for the lateral file cabinet. While the drawer attaches simply to the slide for easy removal, it literally just “hangs” on the cabinet members. What I don't like is the lack of a strong pull detent to keep the drawer closed. I had to play around with the mounting and with the slides all the way forward and the heavy solid maple front on the 28 inch wide drawer, it closes, but not with much retention. We will see how it holds up. More to come. Enjoy the new pictures!
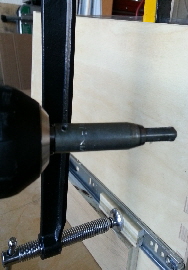
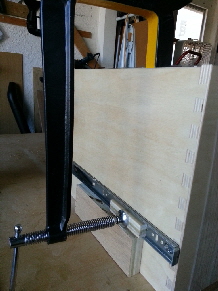
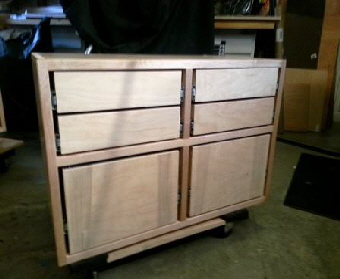
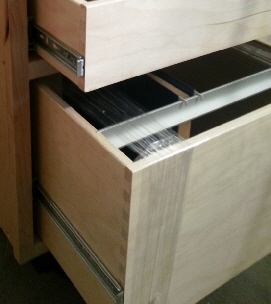
UPDATE # 2 4/28/13 As you have seen in the first update, the project is getting closer to installation and counter top measuring step by step. I will complete the 4 upper cabinet doors before the week is out and then on to the hardwood drawer fronts. This update is focused on installing those twelve sets of full extension drawer slides, many with the drawers spaced into the opening (no lower shelf or dust panel to reference) As far as I am concerned there are three keys to accurate drawer slide mounting: A self centering drill bit of the appropriate size for your mounting screws, clamps (I don't have three hands unfortunately) and some spacer blocks customized to place the drawer where you want them. Trying the measure and mark or drawer lines is hopeless for getting them the same height on each side of the cabinet. Spacers are the ticket. Whether they are for the first drawer and used on the bottom of the case of as shown here for the second and subsequent layer of drawers, a spacer sets each the same height on each side of the cabinet. The adjustable slots help you tweak them if needed which is rare.
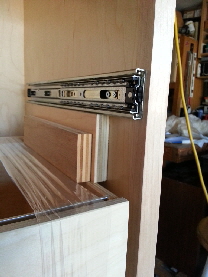
In the second picture you can see that I am using a deep reach c-clamp to hold the box member in place while it is resting on a spacer block that positions the drawer in the pre calculated position in the cabinet. Looking at the third picture you can see a “two tiered block”. That provides in this case the necessary off set (and stability for sitting on the edge of the first drawer) for spacing the drawer about 1 inch higher than the drawer below it. With this type of typical extension drawer slide, using the same block for the cabinet member as the box member, provides about a 1/4” space from the bottom of the box or shelf. The file drawers need more clearance above each other than that thus the 1 inch change in block height. In the other drawer cabinets I used the same 1 inch block to place the slde one inch from the drawer bottom and spacing each drawer about 1/4” from each other and the shelf below. The claim in the third picture has already been removed, but I just place it on the front edge of the box holding the slide in place while I drill the first holes.
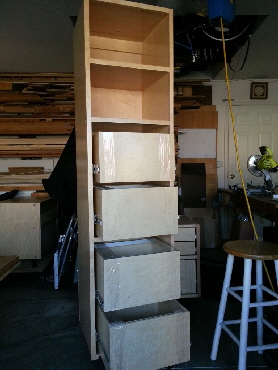
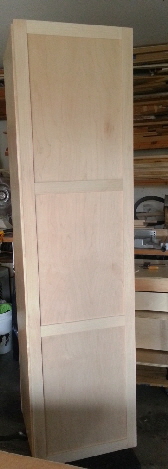
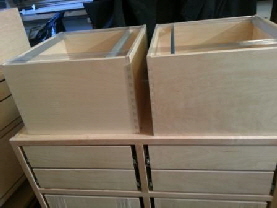
UPDATE # 1 04/24/2013 Here is one of the drawer banks with two small lateral files topped with four 4” drawers. In the opposing picture you can see the high quality Baltic Birch file drawers dovetailed by Western Dovetail drawer company. Look at the quality. They really steal the show for a great price. I have also added a photo of the tall file tower. There is now a three panel door that opens to this fixed shelf and 4 tier file cabinet. Keep in mind that I will be adding solid maple drawer fronts. You are only seeing the raw drawer boxes even though they are so nice they look like the finished product! The office project is taking shape. The drawers are installed and as I wind down the construction, the doors are next. As you can see, pre finished on 2 sides, ¾ inch grade A maple plywood forms the foundation for the project. While it may seem over kill to have the entire project finished 2 sides considering that only a couple of the end cabinets faces will show, I had a reason for using all the same material. |
|
[Home] [About Us] [Completed Projects] [New Kitchen] [Workshop] [Information] [News] [FAQ] [Office Project] |


